

Windows Sandbox is a virtualization feature that Micro-soft will integrate into Windows 10. Basically, it is a tiny installation of Windows 10 enough to install and run untrusted classic applications isolated from the main installation. The sandbox will be a part of Windows 10 Pro and Enterprise; everything is included in the operating system making it a comfortable and elegant solution. Microsoft notes that all privacy settings but the host diagnostic data setting are set to their default values in the Sandboxed environment. Windows Sandbox offers advantages over third party sandboxing or virtualization solution: it is integrated into the Windows 10 and uses the host OS as its base. Once installed, use the Start menu to load Windows Sandbox. You can search for it. It requires elevation; you can right-click on the file and select run as administrator to run it with elevated privileges.
If you want to enable the Sandbox in Windows 10 then you have to follow the below steps.
Click on the Start Menu, type the Control Panel and click on it to open the control panel.

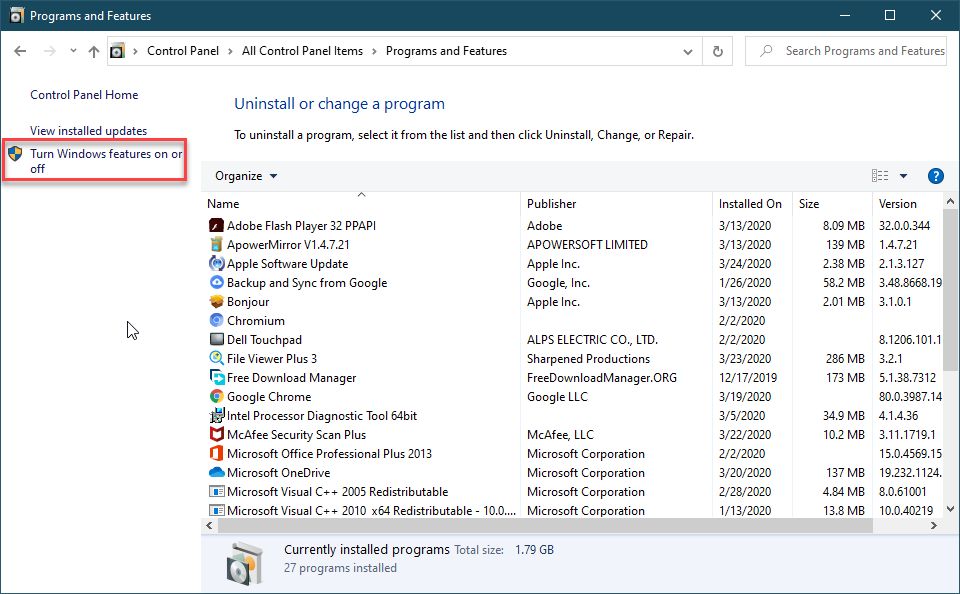
Look for the Programs and Features and click on it.

On the left side of the window screech for the Turn Windows features on or off and click on it.
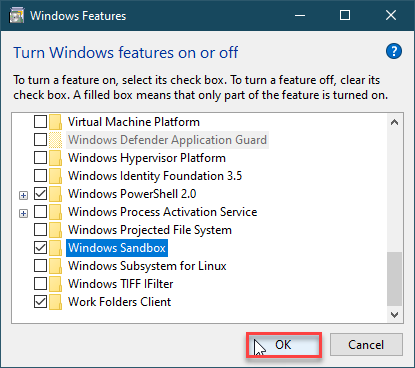
Then a new small window is opened, scroll down, select the Windows Sandbox and click on the OK button.
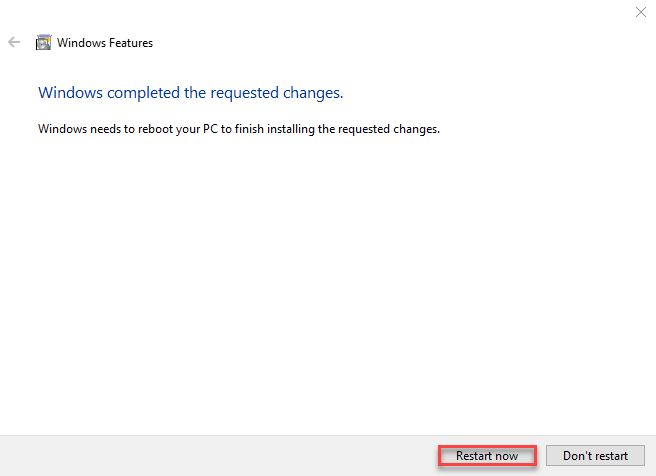
Then Windows Features applying changes that you select.

It will display you two options Restart now and Don’t Restart. Click on the Restart now.
Now you can see the Windows Sandbox in the Start menu.