

Backing up your WordPress site is crucial for protecting your data, and Duplicator Pro offers a reliable solution. In this guide, we’ll walk you through the steps to backup your website with Duplicator Pro, ensuring that your content is secure and easily restorable in case of any issues.
Step 1: Create a New Package
-
- Access Duplicator Pro:
- Log in to your WordPress admin dashboard.
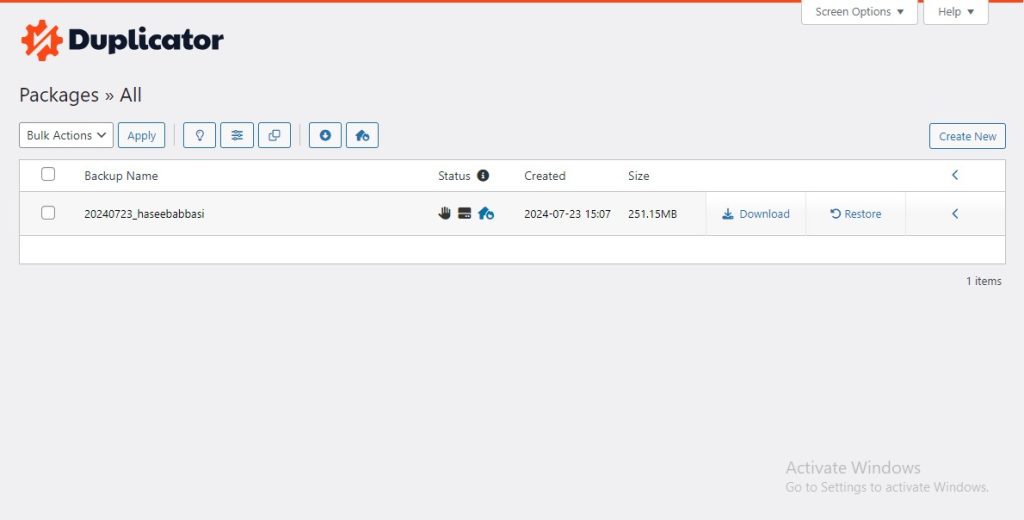
- Navigate to Duplicator Pro > Packages.
- Create a New Package:
- Click the Create New button.
- In the Package Setup, enter a name for your package.
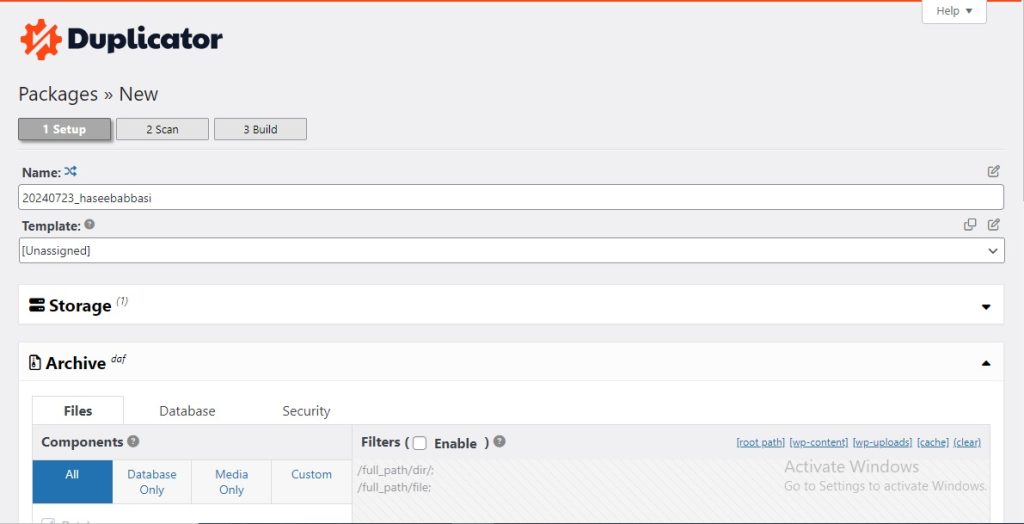
- Click the Create New button.
- Setup:
- Storage: Choose where you want to store the backup (local server, cloud storage, etc.).
- Archive: Select the options for files and database you want to include. By default, all files and database tables are included.
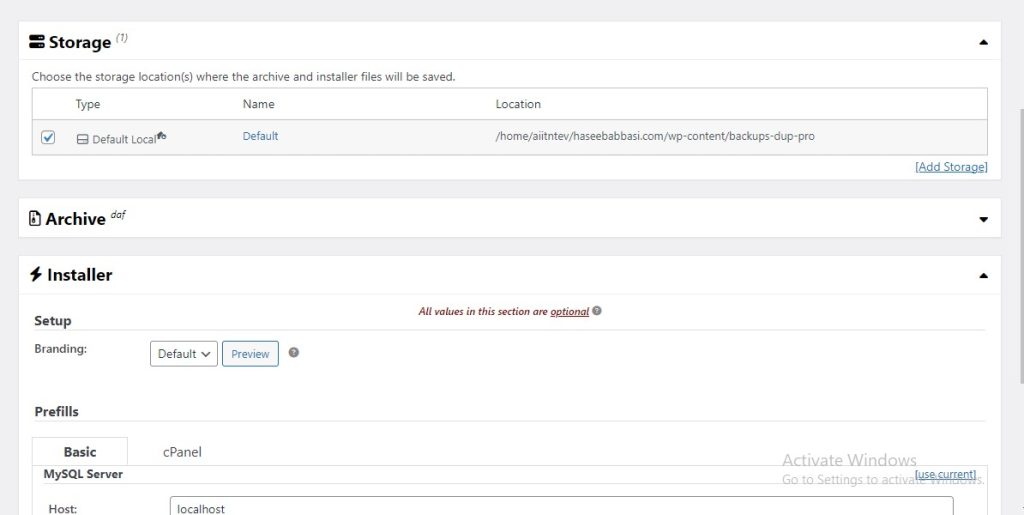
- Installer: This section allows you to set up options for the new site, such as database settings. You can also leave this for the upload phase.
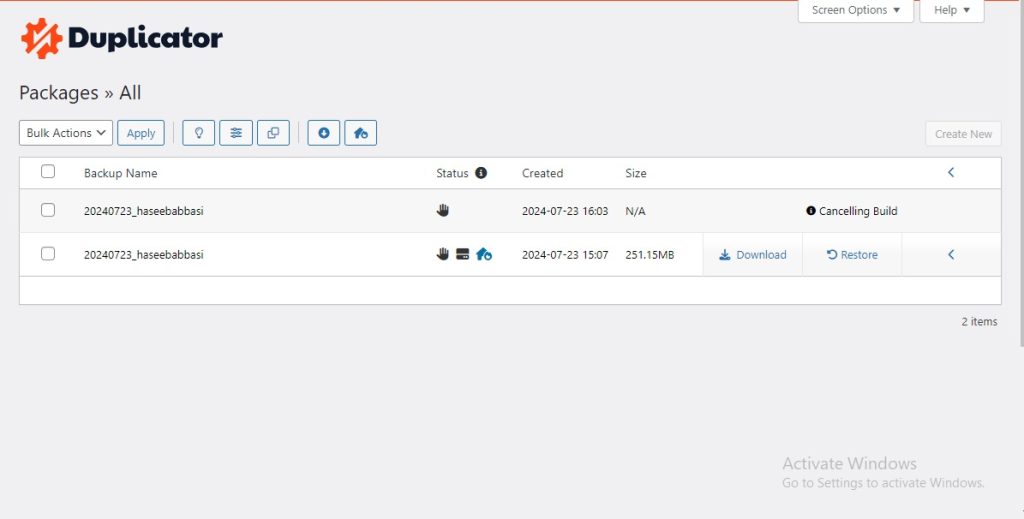
- Build:
- Click the Next button.
- The plugin will perform a system scan. Ensure all checks are green or review any warnings.
- Click the Build button to start creating the package.
- Download the Package:
- Once the build is complete, you will see two files: the Installer and the Archive.
- Download both files to your local computer. The installer is a PHP file, and the archive is a ZIP file containing your site files and database.
Restoring Backup Using Duplicator Pro.
Step 1: Import the Backup Archive.
-
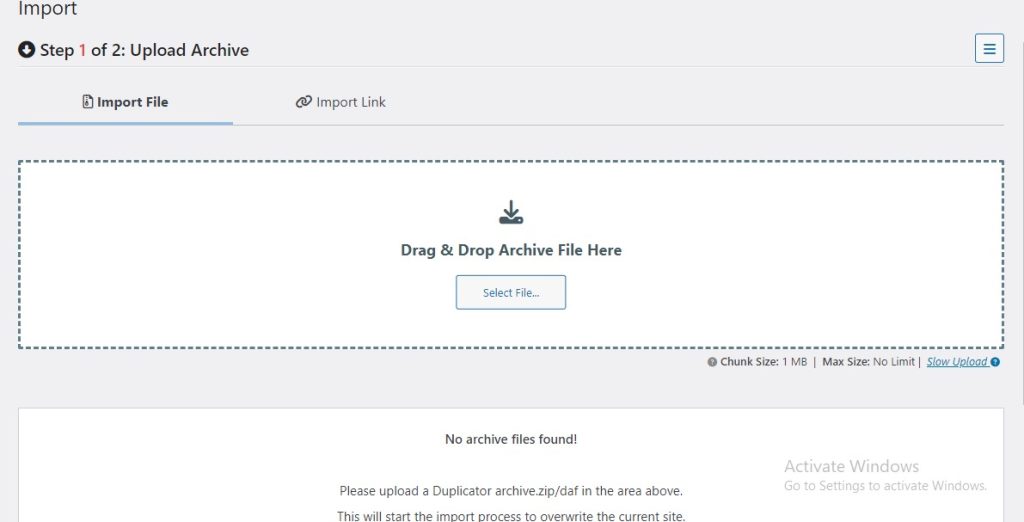
- Select Import:
- In the Duplicator Pro interface, click on the Import tab.
- In the Duplicator Pro interface, click on the Import tab.
- Upload the Archive File:
- Click the Upload button.
- Select the backup archive file (ZIP file) from your local computer.
- Click Open to start the upload process.
- Wait for the Upload to Complete:
- Select Import:
The upload process might take some time depending on the size of your archive file and the speed of your internet connection.
Once the upload is complete, the archive file will be listed under the Imported Packages section.
Step 2: Run the Installer.
-
- Start the Installer:
-
-
- Click the Install button next to the imported package.
- Deployment:
- The installer will verify the archive file.
- Click Next to proceed with the extraction of the archive and setup of your site files.
- Install Database:
- Enter the database details (database name, username, password).
- Click Test Database to ensure the connection is correct.
- Click Next to import the database and proceed with the restoration.
- Update Data:
- Verify the URL, path, and title for your site.
- Click Next to finalize the data updates.
- Test Site:
- The installer will finalize the setup and provide options to test the new site.
- Click the Admin Login button to log in to the new site and verify everything is working correctly.
-
- Access Duplicator Pro: